

Ghost mannequin photography is one of those e-commerce “cheat codes” that makes apparel look premium, consistent, and easy to buy, without distracting props or awkward styling. If you run a clothing brand, you have probably seen the clean, floating look on major stores where the garment holds its shape, the neckline looks natural, and the inside label area is visible as if a person is wearing it. That’s invisible mannequin photography, and when it’s done right by professionals such as those at GraphicXer, it quietly boosts trust and conversions because shoppers can actually understand the fit and structure.
In this complete guide, we’ll break down what invisible mannequin photography is, when to use it, the exact gear and setup you need, the shooting workflow, and the post-production steps that create the final “invisible mannequin” effect. We’ll also cover common mistakes, cost considerations, and how to build a repeatable system for your catalog.
What Is Invisible Mannequin Photography?
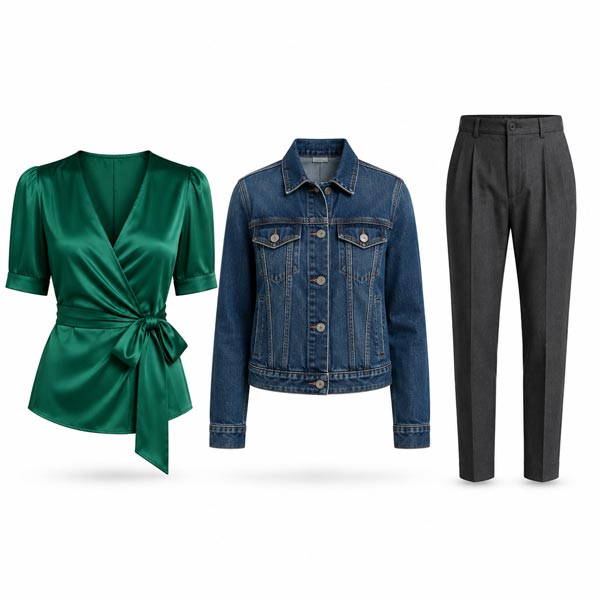
The invisible mannequin effect (also called invisible mannequin photography) is a product photography technique where you photograph clothing on a mannequin and then remove the mannequin in post-production. The editor blends multiple frames to preserve the garment’s natural shape, including tricky areas like the collar, sleeves, and inner neck label zone.
The goal is simple: make the clothing look like it is being worn, without showing a model or mannequin. This creates a consistent, distraction-free presentation that’s perfect for e-commerce categories like t-shirts, hoodies, dresses, jackets, blazers, kidswear, sportswear, lingerie, and even accessories like scarves.
Why Clothing Brands Use Ghost Mannequin Photography
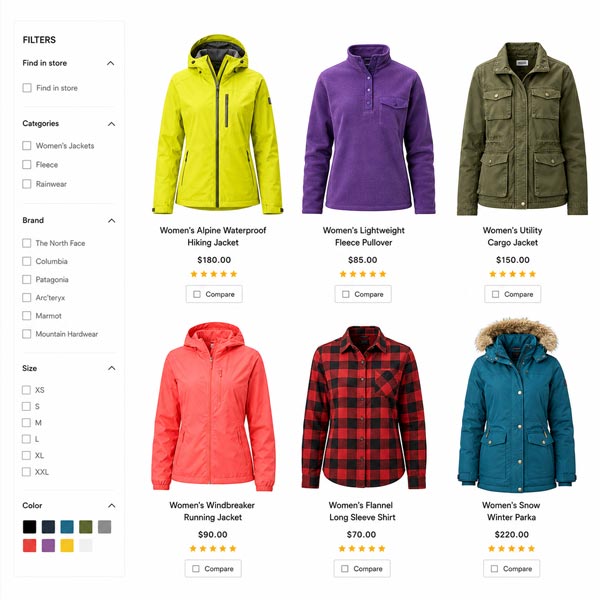
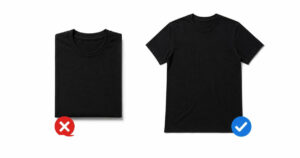
Most clothing brands choose invisible mannequin photography because it hits the sweet spot between flat lays and model shoots. Flat lays are fast but don’t show structure well. Model shoots look great but cost more and are harder to keep consistent across hundreds of SKUs. Invisible mannequin photography delivers a “3D” look at scale.
It helps shoppers understand shoulder shape, drape, thickness, neckline depth, sleeve volume, and how the garment holds its silhouette. It also standardizes your store visually, which makes the whole catalog feel more trustworthy and brand-led.
When Invisible Mannequin Photography Is The Best Choice
Invisible mannequin photography is ideal when you want a clean product-first look, when you have many SKUs, or when you need uniformity across seasons. It works especially well for brands selling on Shopify, Amazon, eBay, Etsy, WooCommerce, Zalando-style marketplaces, and wholesale line sheets.
You’ll get the best ROI when you have repeating styles (multiple colors), when you shoot new drops frequently, or when you plan to scale advertising, because consistent product images tend to perform better across paid social and product listing ads.
Ghost Mannequin Vs Flat Lay Vs Model Photography
Flat lays are great for casual items, quick social content, and small catalogs, but they often fail to show fit and shape. Model photography is powerful for storytelling and lifestyle, but it can introduce variation in pose, lighting, and sizing. Invisible mannequin photography sits in the middle: it looks polished, product-focused, and consistent.
Many successful brands actually use a hybrid approach. They use ghost mannequin for PDP consistency, and then add a few model images for campaigns, banners, and social proof.
Equipment You Need For Invisible Mannequin Photography
You don’t need a Hollywood studio, but you do need a setup you can repeat. If you are building an in-house workflow, start with a clean foundation.
A practical Invisible mannequin photography kit usually includes a camera that can shoot tethered, a versatile lens, stable lighting, and a mannequin that fits your target sizing. If your budget is tight, you can still get excellent results with a basic mirrorless camera and continuous lights, as long as your lighting is controlled.
Here’s what most brands rely on:
- A mirrorless or DSLR camera with manual control and consistent color output
- A 50mm or 24–70mm lens (avoid wide angles that distort garments)
- Two softboxes or strobes with modifiers for soft, even light
- A sturdy tripod to keep framing identical across shots
- A ghost mannequin (ideally with removable neck and arms for inner label shots)
- A seamless background (white, light gray, or your brand standard)
- Clips, pins, and styling tools to shape the garment cleanly
How To Choose The Right Mannequin
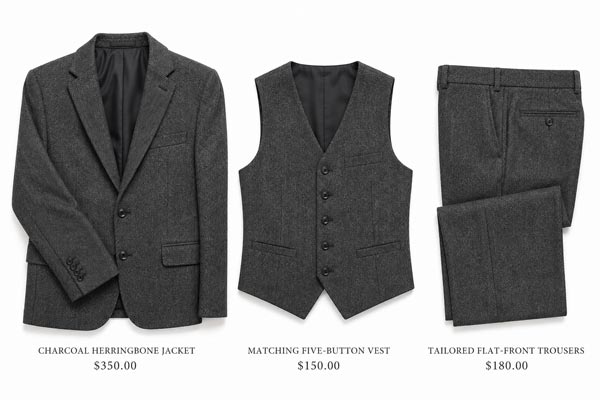
The mannequin matters more than most people expect. If the mannequin is too big, garments will stretch and misrepresent fit. If it’s too small, the clothing will sag and look cheap. Choose a mannequin that matches your most common sample size. For brands with multiple fits, some studios keep separate mannequins for menswear, womenswear, and kidswear.
For Invisible mannequin photography, look for mannequins with detachable parts, especially the neck and arms. That makes it easier to shoot the “inside” frame used to create the invisible neck or label area during editing.
Studio Setup And Lighting That Looks Expensive
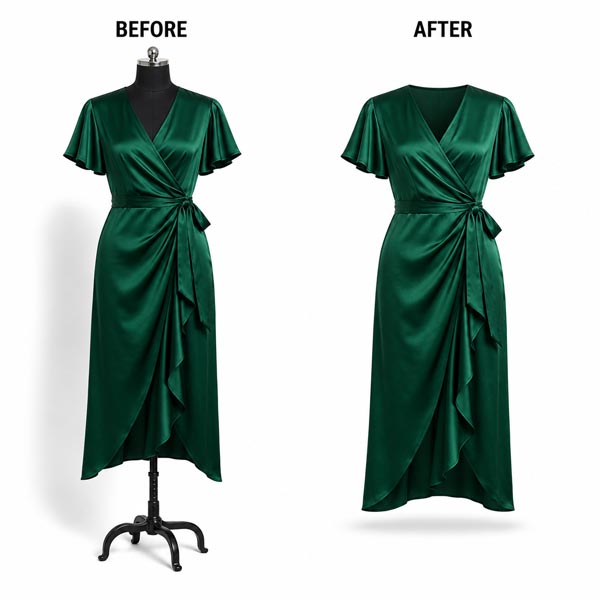
The fastest way to ruin Apparel product photography is harsh shadows and uneven highlights, especially on black clothing, satin, leather, or knit textures. You want soft, wrapping light that reveals texture without creating hot spots.
A common approach is a two-light setup: key light at 45 degrees to the front and a fill light on the opposite side, both softened. If you want extra separation, a background light or rim light can help, but be careful because it can create edge glow that complicates clipping paths later.
Keep the background evenly lit, but don’t overexpose it so much that it bleeds into the garment edges. Clean edges make Invisible mannequin photography post-production faster and more realistic.
Garment Preparation: The Hidden Step That Makes Images Look Premium
Most “bad” Invisible mannequin photography comes from poor garment prep, not the camera. Wrinkles, lint, twisted seams, and collapsed collars make the product look lower quality than it is.
Before shooting, steam or iron the garment, remove lint and dust, align buttons and plackets, and check symmetry at the shoulders and hem. Use pins and clips behind the mannequin to improve fit without changing the garment’s real shape. The idea is to present the product as it should look when worn correctly, not to fake sizing.
Step-By-Step Workflow For Ghost Mannequin Photography
Invisible mannequin photography becomes easy when your workflow is consistent. The shoot itself is usually straightforward. The magic happens because you plan for the composite.
Start by capturing the main front view on the mannequin. Then capture the “inner” parts (usually the neck label area, sometimes sleeve interiors or hood interiors) by removing or adjusting mannequin parts. For some garments, you may also capture the back view and detail shots like zippers, embroidery, or fabric texture.
A reliable workflow looks like this:
First, lock your camera on a tripod and mark the mannequin position on the floor so framing never shifts. Second, set manual exposure, manual white balance, and keep ISO low for clean files. Third, shoot tethered if possible so you can spot wrinkles, dust, and symmetry issues instantly.
Then capture these frames per product: the main front shot, the inner neck shot (or inside frame), and the back shot if needed. For complex garments like blazers, hoodies, and jackets, you may also need extra frames for sleeves or layered collars to make the composite look natural.
Camera Settings That Keep Your Catalog Consistent
Consistency is the whole point of Invisible mannequin photography. Use manual settings so your images match across days, colors, and product drops.
Most studios shoot around f/8 to f/11 for sharpness, keep shutter speed appropriate for flash sync or continuous light, and use ISO 100 to 400 depending on lighting. The more important rule is this: don’t change settings between products unless you have a good reason, and if you do, document it.
Also, shoot RAW if you can. It gives you better control over white balance and fabric color accuracy, which matters a lot for returns and customer trust.
The Post-Production Process: Where “Ghost” Actually Happens
People often think ghost mannequin is a “filter.” It isn’t. It’s careful compositing and realistic retouching.
In post-production, the editor removes the mannequin, places the inner neck shot into the main frame, aligns seams, corrects distortions, and cleans up everything that distracts. The best edits are invisible. The garment should look naturally three-dimensional, not cut-out and pasted.
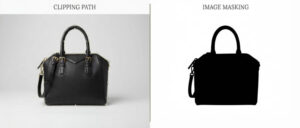
A typical Invisible mannequin photography editing process includes background cleanup, clipping path or masking, neck joint creation, shadow balancing, wrinkle reduction (without destroying fabric texture), color correction, and final alignment for consistent spacing and scale across the catalog.
How Neck Joint Creation Works
Neck joint creation is the core of the hollow man effect for tops, dresses, jackets, and anything with a visible collar area. You shoot the garment on the mannequin first, then you shoot an additional frame showing the inside neck label area by removing the mannequin’s neck piece or flipping the garment carefully.
In Photoshop, the editor blends that inside area into the main shot, matching perspective, lighting, and fabric edges. When done properly, it looks like the garment is floating and still holding its shape, with a realistic inner neckline instead of a flat hole.
Color Correction For Apparel: The Part That Reduces Returns
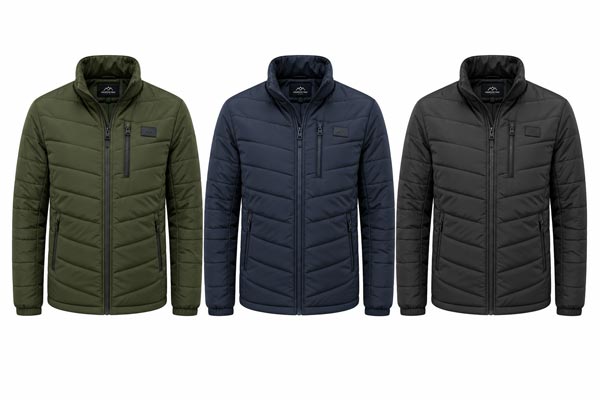
If you sell clothing online, color accuracy is not optional. Invisible mannequin photography should represent true fabric tones under consistent lighting. In editing, you want to correct white balance, match colors across variants, and preserve texture.
Be especially careful with blacks, whites, reds, and neon tones. Blacks can look washed out. Whites can look gray or blue. Reds can shift toward orange. A calibrated monitor and a simple color workflow (plus reference shots) can make a big difference.
Shadows: Keep Them Real, Not Dramatic
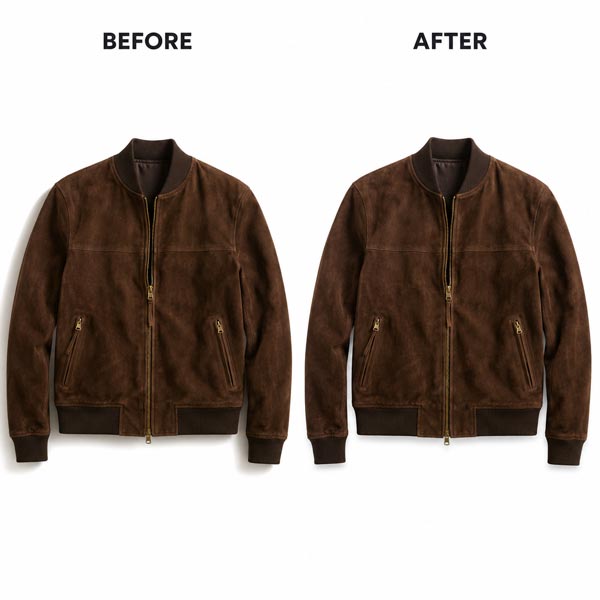
Many brands prefer a clean white background with a subtle natural shadow under the garment. That shadow gives depth and keeps the item from looking like it’s floating unnaturally. In Invisible mannequin photography, shadows should be soft, consistent, and minimal.
Overdoing drop shadows is one of the quickest ways to make images look fake. If you add shadows in post, keep them faint and realistic. Better yet, capture clean natural shadow in-camera and just refine it.
Common Mistakes That Make Ghost Mannequin Photography Look Cheap
The most common issue is bad alignment in the composite. If the inner neck piece doesn’t match the outer collar, shoppers notice, even if they can’t explain why. Another common issue is over-smoothing, where fabric texture disappears and the product looks plastic.
Watch out for stretched necklines, uneven shoulders, twisted sleeves, mismatched lighting between composite frames, and inconsistent cropping across SKUs. Also, don’t ignore dust, lint, and stray threads. They are small, but they signal low quality instantly.
How Many Images Should You Produce Per Product?
For most clothing brands, 4 to 8 images per product is a strong baseline. You’ll typically want front, back, side (optional), close-up detail, and maybe a fabric texture shot. If you are selling on marketplaces with strict image rules, keep a clean hero image first, then add the extra angles.
Invisible mannequin photography works best when your hero image is consistent across the whole category, then your additional shots answer fit questions and highlight details like pockets, stitching, and branding.
File Size, Background, And Cropping For E-Commerce Platforms
If you’re on Shopify, high-resolution JPEGs with smart compression usually work best. For Amazon, follow their main image rules (pure white background, product fills most of the frame, no props). For lookbooks or wholesale, you might want higher resolution and sometimes transparent PNGs, depending on design needs.
Whatever platform you use, set a standard: same aspect ratio, same product scale, same background tone, and the same export settings. Invisible mannequin photography only looks “brand-level” when the entire catalog feels unified.
In-House Vs Outsourced Invisible Mannequin Photography Editing
Some brands shoot in-house and outsource editing. Others outsource both shooting and editing to a studio. A lot depends on your product volume, how often you launch, and how tight your team is.
If you shoot in-house, outsourcing ghost mannequin post-production can be the easiest way to maintain speed and consistency without hiring and training full-time retouchers. It also helps when you need complex neck joints, clean masking on furry fabrics, or consistent color matching across large collections.
How Much Does Ghost Mannequin Photography Cost?
Costs vary based on your location, product complexity, volume, and whether pricing includes shooting, styling, and retouching. Editing costs also vary depending on the difficulty of masking, the number of composite frames, and the required level of retouching.
The practical way to think about it is cost per sellable SKU image set. If Invisible mannequin photography helps you present products more clearly, reduce returns through accurate color and detail, and speed up your workflow, it often pays for itself quickly.
A Simple Quality Checklist Before You Publish
Before you upload your final images, take a minute to check the basics. Consistent Invisible mannequin photography is built on small details done repeatedly.
Check alignment at collar and shoulders, ensure edges are clean, confirm background is uniform, look for dust and loose threads, verify color accuracy against your reference, and confirm your crop and scale match your store standard.
FAQs
What Is Invisible Mannequin Photography Used For?
Ghost mannequin is used to show clothing in a realistic 3D shape without a visible model or mannequin. It helps customers understand structure, fit, and details clearly, which improves product presentation on e-commerce stores.
How Many Photos Do I Need To Create A Ghost Mannequin Effect?
Most Invisible mannequin photography needs at least two photos: a main shot on the mannequin and an inside-neck shot for the neck joint. Complex garments may require extra frames for sleeves, hoods, or interiors.
Can Ghost Mannequin Photography Work For Black Or Shiny Clothing?
Yes, Invisible mannequin photography can work for black, satin, and reflective fabrics, but lighting must be soft and controlled. Careful editing is also needed to preserve texture while avoiding harsh highlights and muddy shadows.
Is Invisible Mannequin Photography Better Than Using A Model?
For product pages, Invisible mannequin photography is often better for consistency and scale. Model images are still valuable for lifestyle storytelling, but Invisible mannequin photography keeps focus on garment structure and creates a uniform catalog look.
Should I Outsource Invisible Mannequin Photography Editing?
If you have frequent launches or large catalogs, outsourcing Invisible mannequin photography editing can save time and keep quality consistent. It also helps when you need advanced neck joint creation, precise masking, and reliable color correction.
Final Thoughts
If you want your catalog to look clean, consistent, and genuinely premium, we can help. At GraphicXer, we’ve spent 15 years delivering reliable post-production for e-commerce, and ghost mannequin photography is one of our specialties. Send us a few sample images, tell us your style guidelines, and we’ll handle the editing so your products look ready to sell.